At last we had some real summer days here in Berlin. A little too hot for my liking, especially if you have to spent them in the city. When it’s so hot that you don’t feel like eating anything at all, but long for some refreshment, this is for you. Luckily summer provides us with its own version of a cooling treat: berry galore! There is nothing quite like light and refreshing berries. I find it impossible to name a favourite. Raspberries, strawberries, currants…I went for the mix. However, I often find myself craving something salty and yet fresh. In this case tart, cultured dairy products are my go-to option. Ayran, chilled cucumber yoghurt soup or my green smoothie with my homemade kefir.
Kefir originates in the Caucasus and most of you, at least here in Germany, will know it from the supermarket as a slightly tart and fizzy dairy drink. You can use store-bought kefir for to make the berry ice pops, but I encourage everyone who has a crush for cultured dairy products like natural yoghurt to make your own. It’s super easy, requires no fancy equipment and once you bought (or have been gifted with) your culture you can use it over and over again. I grew so fond of my kefir grains that I think of them as something like a pet that has to be fed and taken care of. Some might find this too time consuming and annoying, but I don’t want to miss having my super tart kefir at hand (the downside is that I’m finding store-bought natural yoghurt too bland now – but that’s just me).
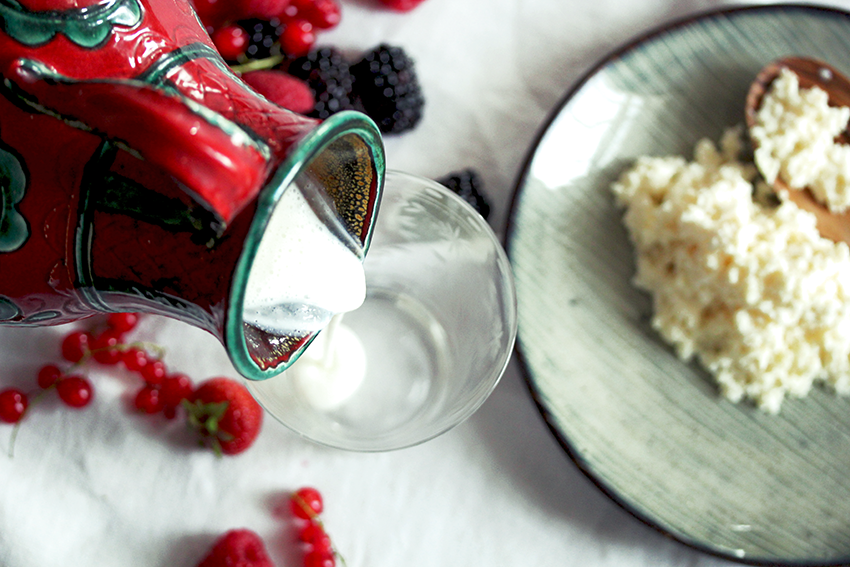
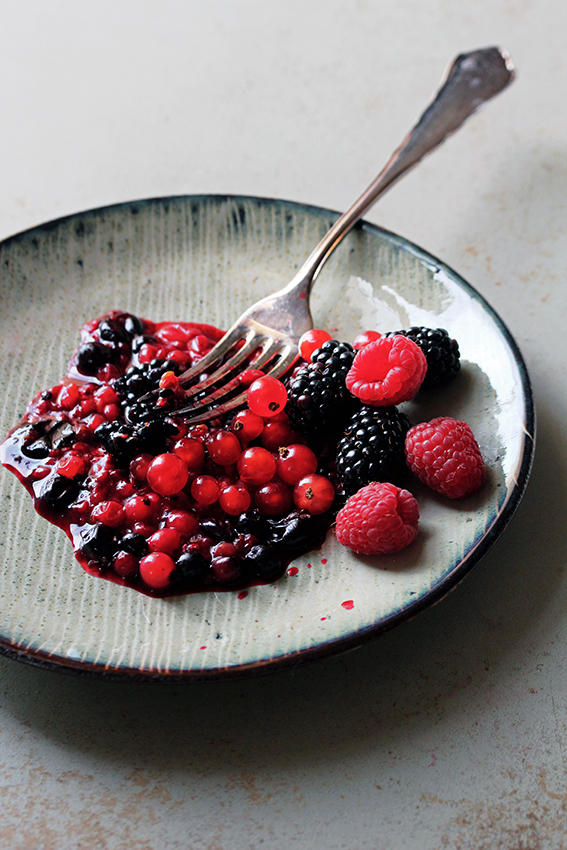
![[gallery type="rectangular" size="full" ids="1147,1149"]](https://i0.wp.com/from-hand-to-mouth.com/wp-content/uploads/sites/2/2015/07/berries-2.png?w=229&h=346 "[gallery type=\"rectangular\" size=\"full\" ids=\"1147,1149\"]")


What’s so great about kefir despite its taste? Like other fermentation methods cultured dairy products such as yoghurt, buttermilk and kefir are a way to preserve fresh milk. Since the advent of the refrigerator this might seem unnecessary, but the kefir culture, also called kefir granules or kefir ‘grains’ because of their appearance, turns the milk into a real super-food. Although the taste of kefir can resemble yoghurt it contains completely different microorganisms. The kefir granules contain about 30 different microorganisms and are a symbioses of yeast and bacteria (lactobacillus kefiri). But don’t fret, they don’t feed yeasts in your gut – on the contrary there is little else that is so beneficial for your gut like kefir. The beneficial probiotics in the kefir can inhibit the growth of harmful bacteria and are therefore a great support for the immune system. Kefir is also easily digested, because the protein in the milk becomes partially broken down during the fermentation process and what is more: kefir is very low in lactose because the culture feeds from the milk sugar (i.e. lactose) and converts it into lactic acid. It can therefore often be tolerated by people who otherwise have trouble with dairy products. Kefir also contains many vitamins, especially Vitamin K2 that is important for bone health and B vitamins, as well as beneficial minerals. You can read more about the health benefits of kefir here.


How to make your own kefir
You will need:
1-2 tbsp kefir grains (if you don’t know anyone with some spare kefir grains, you can buy them online. If your in Germany: I bought mine here)
500 ml full fat milk (cow’s, goat’s, sheep’s milk – they all work)
a wide mouthed 1 litre glass jars with a lid
a fine plastic strainer (although I avoid using plastic in my kitchen, the kefir culture is said to suffer from the contact with metal)
a wooden (or plastic) spoon
Sterilize the jar with boiling water. Fill milk into the clean jar. Add kefir granules and stir with a wooden spoon or spatula. Cover loosely with a lid (the kefir becomes effervescent, so don’t close the lid too tightly or pressure will build up). Let the mixture sit for 12-48 hours. You will see that the thick curd like kefir mix separates from the whey. You may want to stir the mixture occasionally, but this is not absolutely necessary.
Pour the kefir through a strainer into a bowl or another jar to remove the grains. Don’t be afraid to squeeze the granules to obtain as much kefir as possible. Clean and sterilize the jar, add new milk and return the granules – and the cycle begins anew.
Depending on the temperature, the time and the ratio of kefir grains to milk the taste and consistency differs. Generally: the less milk you use the faster the fermentation process becomes, also the more kefir grains you use and the longer you keep the kefir on the shelf the more tangy and fizzy it will become. Higher temperatures speed up the process as well, but also change the flavour. In lower temperatures the yeast predominates resulting a more carbonated and slightly alcoholic kefir, whereas in higher temperatures the lactobacilli prevail so that the kefir becomes more tangy and yoghurt like. The process of adjusting those three parameters involves some trial and error, but eventually you will end up with delicious kefir that suits you individual taste. That my kefir is a living culture that grows and changes with the seasons is what makes the whole thing so fascinating.
You can make kefir from any animal milk. Some say, you can also use coconut or almond milk, but the culture will suffer and after a few cycles will have to be returned into dairy milk to be revitalized. I once tried coconut milk, but I have to say that I didn’t like the result. If you want to have a dairy free kefir, I suggest you try water kefir to which you have to add a different culture and some sugar to feed it. You can read more about making kefir here, there also is a helpful video.
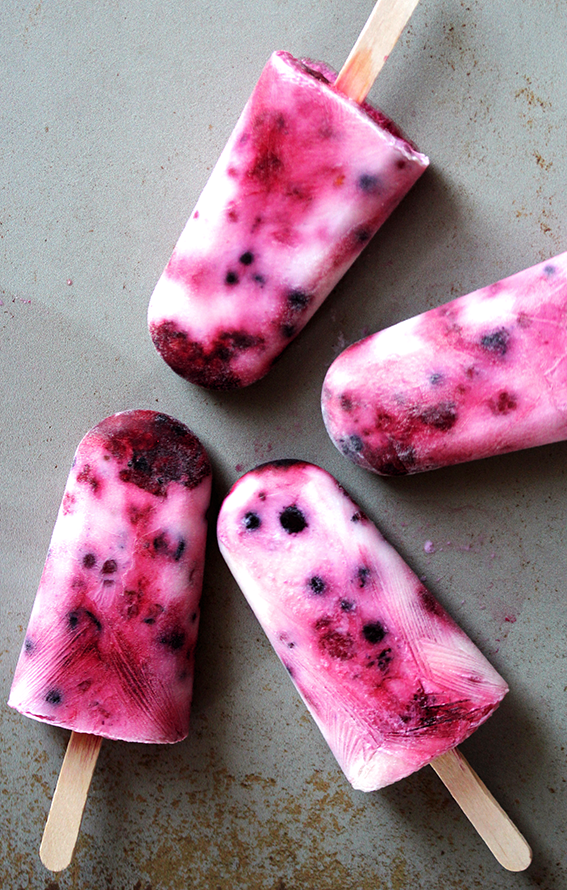
Kefir & berry ice pops
250-300ml kefir
100g berries (I used a mixture of raspberries, blackberries, currants, blueberries and some strawberries)
6 ice pops molds and sticks
Smash the berries with a fork. Fill berries and kefir alternately into the mold. Place the stick in the middle. The mixture should be thick enough for it to keep upright, otherwise place the molds in the freezer for 15 minutes and then put in the sticks. Let the popsicles freeze for at least three hours and enjoy as a dessert or for breakfast on a super hot day!

