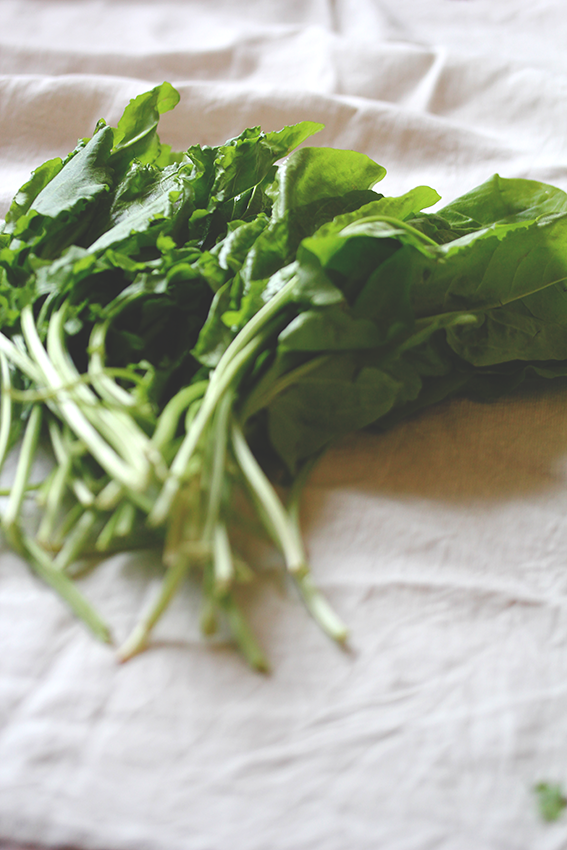
This year really turns out to be a big experiment with leaves I either did not know or simply didn’t use before in the kitchen. Again it was the little market store of an elderly couple on my local market that is selling nothing but leaves from their garden that provided me with yet another new green sensation! Chances are good, that in june and july you’ll also be able to find it on the market. While up to last year I had never come across it, this year one could find it all over the market.
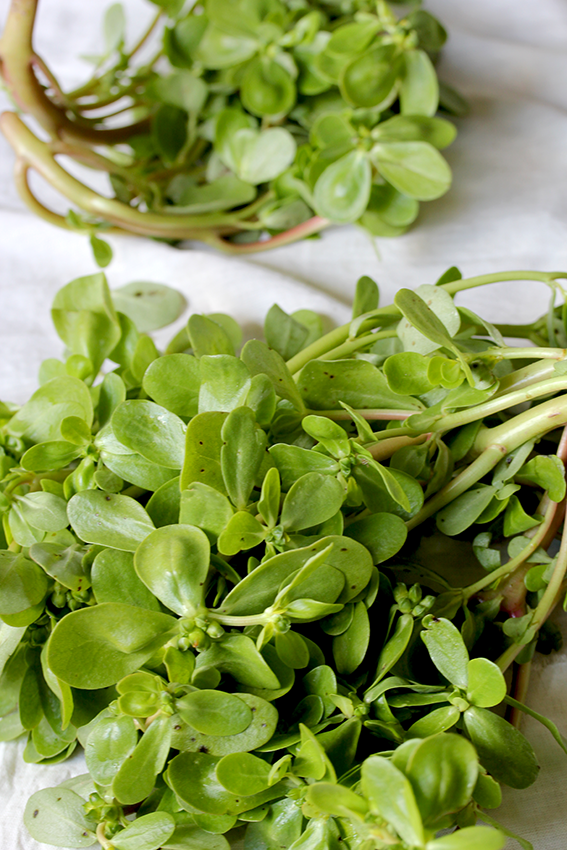
Indeed purslane (Portulaca oleracea) is often thought of as a weed in the garden and actually reminded me strongly of my potted succulent plants. I later learned that it indeed belongs to the succulents with its thick leaves and stems. However it is not just looking quite ‘interesting’, but also tastes great and is extremely nutritious. The leaves are somewhat crunchy and yet very juicy with a lemony flavour – perfect for a summer salad like this one especially in combination with the slightly tart sweetness of the blueberries. But it can also be steamed or lightly stir-fried. When I asked some Turkish sellers on the market what to do with it, they told me they are using it like spinach and for example use it to fill boreks with.
It gets even better: Purslane contains quite high amounts of Vitamin A, C, and E – a powerful antioxidant. In fact, it provides six times more vitamin E than spinach and seven times more beta carotene than carrots. It is also a good source for the minerals magnesium, calcium and potassium. Most surprisingly Purslane contains more omega-3 fatty acids (alpha-linolenic acid) than any other leafy vegetable plant. Our bodies need, but cannot produce omega-3 as well as omega-6 fatty acids, hence they are called essential. However, our modern diet is often lacking omega-3 fatty acid and an imbalance in the omaga-3 and omega-6 ratio can be harmful. So far I only knew of flax seeds and oily fish as sources of omega-3 fatty acids. But isn’t it quite cool, that this little plant is an additional supplier? (For detailed information on fats, see Nourishing Traditions by Sally Fallon).
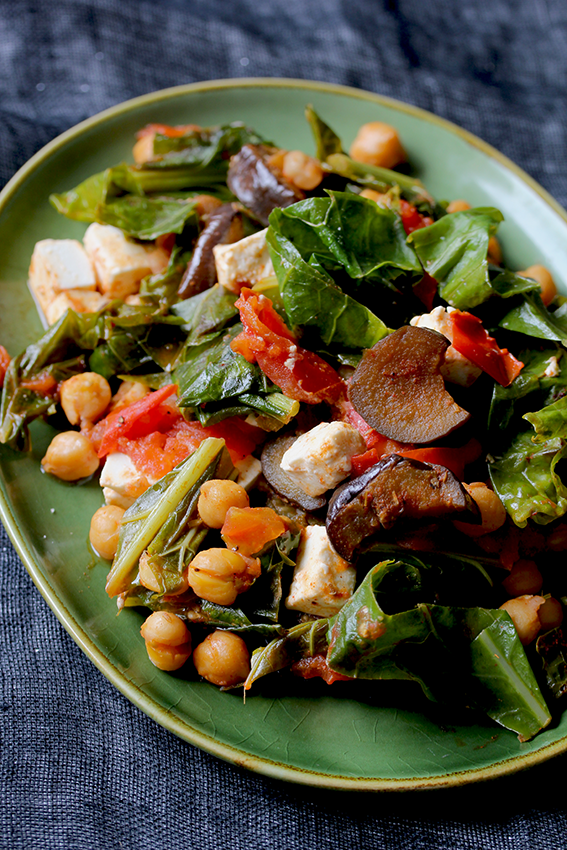
So this salad is not only fresh and light, but also quite healthy. To make it even more so – and because I love the taste – I added one of my favorite fermented foods: preserved lemons. I have been wanting to make these for years, but always shunned the ‘effort’. Now that I made them, I can assure you: it’s no effort at all and one glass with 4 large lemons will easily last for half a year.

How to make preserved lemons
You’ll need:
4 large organic lemons + additional juice of 3 lemons
5-6 tbsp sea salt
spices according to your taste, I used 4 bay leaves, 1 tsp allspice berries, 5 cardamom pods
1 wide-mouth glass jar (750ml-1l) with a lid
You might want to sterilize the jar with boiling water for about 15 minutes. Then scrub the lemons under running water. Slice off the stem end and the tip end of each lemon. Starting at one end, cut the lemons in half lengthwise, but stop about 1 cm before you reach the bottom. Make another cut, so that you’ve got quarters, but don’t cut all the way through; they should still be attached at the bottom. Liberally sprinkle salt on the inside and outside of the lemons. Hold them open with your fingers and really get the salt inside them. Add about 2 tablespoons of salt to the bottom of the jar (and the spices, if you are using them). Place the lemons in the jar and push them down to release the juices. Add the additional lemon juice and maybe some water, because the lemons need to be be completely submerged in juice. Add 2 more tablespoons of salt to the top. Seal the jar. Let the jar sit at room temperature for 2 to 3 days. Make sure the lemons are covered with liquid, you might want to shake the glass a little to distribute the salt and liquids. After a few days, put the jar in the refrigerator; the lemons will be ready in about three weeks, when the rinds have softened. When using, discard the seeds and maybe rinse the lemons with water if you find them too salty. They will keep in the fridge for about six month.
But now, the salad recipe:
a big bunch of purslane ( at least 10 stems)
a handful of arugula
1/2 preserved lemon
50g feta
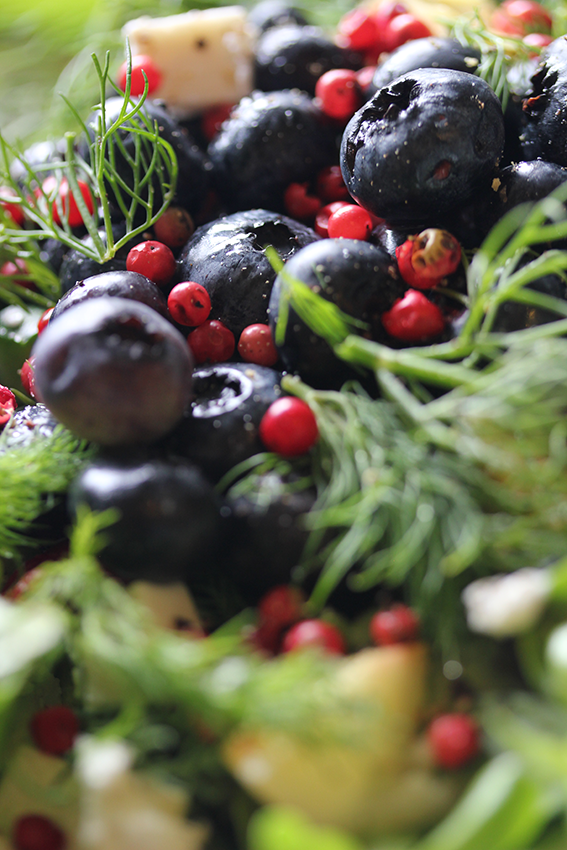
50g blueberries
½ avocado
5-7 radishes
1/2 salad cucumber
1 small bunch of dill
2 tbsp pink pepper berries
juice of 1/2 lime
2 tbsp good quality olive oil
1 tsp dijon mustard
sea salt and black pepper
a handful of radish sprouts (optional but delicious)

Rinse the purslane and arugula and pat dry. Pick the purslane leaves from the stems and chop the more tender stems in small pieces. Chop cucumber, radishes, avocado, preserved lemon, feta and dill and mix with the leaves. Top with blueberries, pink pepper and sprouts (if using). To make the dressing: whisk together oil, lime juice, mustard, salt and pepper and drizzle over the salad.